Packing your belongings the right way is more than just a moving step—it’s a safeguard for everything you value. Whether you’re relocating delicate glassware, bulky furniture, or everyday household essentials, professional packing techniques ensure nothing is left to chance. Proper packing services don’t just prevent breakage and damage; they save you time, minimize stress, and make your move more organized from start to finish. With expert materials, proven methods, and a systematic approach, your transition becomes safer, smoother, and worry-free.
Essential Packing Materials
Before you begin, make sure you have all the necessary supplies. Having the right packing materials at hand prevents last-minute stress and helps you keep the process organized. Using high-quality materials also ensures your items remain secure throughout the move.
- Sturdy cardboard boxes (various sizes).
- Bubble wrap or packing paper for cushioning.
- Packing tape for sealing.
- Permanent markers for labeling.
- Moving blankets for furniture protection.
Investing in durable supplies may cost a little more upfront, but it significantly reduces the risk of breakage. You’ll thank yourself on moving day when everything stays intact and organized.
Why Proper Packing Matters
Packing may seem straightforward, but doing it incorrectly can result in broken items, disorganized unpacking, and even injuries from lifting heavy or unbalanced boxes. When you take the time to pack properly, you protect both your belongings and yourself.
Proper packing also makes moving day faster and easier. Boxes are easier to stack and load when packed correctly, reducing the chance of items shifting in transit. Plus, organized labeling helps you find your essentials quickly once you arrive at your new home.
Step-by-Step Guide on Packing the Boxes
Packing efficiently requires a structured approach. Following a clear system helps you avoid chaos, save time, and keep your belongings safe. Here’s a detailed step-by-step guide:
1. Create a Realistic Packing Timeline
One of the biggest mistakes people make is underestimating how long packing will take. Packing isn’t just about putting items into boxes—it involves sorting, organizing, and protecting everything you own. For a smooth experience, you need to start early and follow a structured timeline.
Ideally, begin packing 2–3 weeks before your move. Start with items you rarely use, like off-season clothing, holiday decorations, or extra bedding. As moving day approaches, gradually work your way to everyday items. Essentials, like toiletries, kitchenware, and work clothes, should be saved for the last 1–2 days.
Here’s a sample packing schedule:
- 3 weeks before: Start with non-essentials (books, décor, collectibles).
- 2 weeks before: Pack less-used kitchen items, linens, and storage items.
- 1 week before: Begin boxing up clothing, electronics, and rarely used furniture.
- 2 days before: Pack daily essentials into a designated “last-to-pack, first-to-unpack” box.
Pro Tip: Create a moving checklist and assign tasks by day. This prevents last-minute panic and ensures nothing is overlooked.
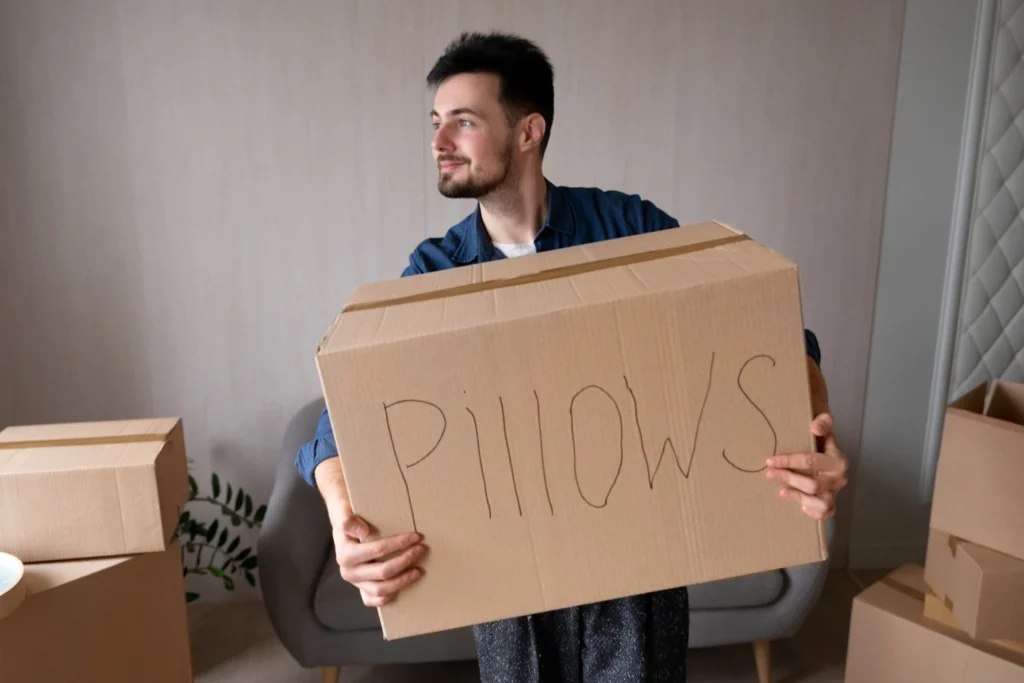
2. Select the Correct Types of Boxes
Not all boxes are equal, and using the wrong size or type can cause serious problems. For example, a large box full of books becomes nearly impossible to lift, while a small box filled with pillows wastes valuable space. Choosing the correct box type ensures safety, balance, and protection.
Here’s how to match box type to item:
- Small boxes (1.5 cu. ft.): Perfect for heavy items such as books, canned food, tools, or glass jars.
- Medium boxes (3 cu. ft.): Great for kitchen items, shoes, electronics, and décor.
- Large boxes (4.5 cu. ft. and up): Use for lightweight, bulky items like bedding, comforters, and clothing.
- Wardrobe boxes: Designed for hanging clothes. They save time and keep clothing wrinkle-free.
- Dish packs: Reinforced with dividers for glassware, plates, and delicate kitchen items.
Common mistake to avoid: Don’t overload a single box with mixed items of very different weights. For example, combining books with fragile vases is a recipe for disaster.
3. Estimate the Number of Boxes You’ll Need
Running out of boxes mid-pack can delay your progress and add unnecessary stress. On the other hand, overbuying boxes wastes money. Estimating your box needs in advance helps you budget better and stay organized.
Here’s a general estimate:
- Studio/1-bedroom apartment: 20–40 boxes.
- 2-bedroom home: 60–80 boxes.
- 3-bedroom home: 90–120 boxes.
- 4+ bedrooms: 150+ boxes.
Pro Tip: Always buy at least 10–15% more boxes than you think you’ll need. Extra boxes are useful for last-minute packing or unexpected items.
If you’re using professional movers, ask them to help estimate. They’ve done hundreds of moves and can give you a more accurate number based on your home size.
4. Source Free or Low-Cost Boxes (But Choose Wisely)
Buying new boxes adds up quickly, especially for large homes. To save money, consider sourcing free or discounted boxes. Grocery stores, liquor shops, and bookstores often give away sturdy boxes that are perfect for moving. You can also explore this detailed blog on where to find free moving boxes near you for more ideas.
However, don’t just grab any free box. Inspect each one carefully:
- Check for moisture: Water damage weakens cardboard.
- Look for pests: Used boxes may harbor bugs.
- Test sturdiness: If it bends easily, it’s not strong enough.
Pro Tip: Liquor store boxes are some of the best free options because they’re designed to hold heavy glass bottles.
5. Know Which Items Should Never Be Packed in Boxes
Some items simply don’t belong in moving boxes, either for safety reasons or because movers won’t transport them. Before you start packing, make a list of what should be excluded.
Items not to pack:
- Hazardous materials: Paint, gasoline, propane tanks, chemicals.
- Perishable foods: Frozen, refrigerated, or opened food items.
- Valuables: Jewelry, cash, passports, or important documents.
- Plants: Many moving companies prohibit them due to pest and soil regulations.
Instead, transport these items yourself or dispose of them responsibly. This keeps your move compliant with moving company rules and avoids unnecessary risks.
6. Declutter Before Packing
Packing is the perfect opportunity to get rid of things you no longer need. Why spend time, effort, and money moving items that will only clutter your new space?
Follow the Four-Box Method:
- Keep: Items you use and love.
- Donate: Gently used items that can help others.
- Sell: Valuables you no longer need but could profit from.
- Discard: Broken, worn-out, or outdated belongings.
Pro Tip: Decluttering before packing can reduce the total number of boxes by 20–30%, which also lowers moving costs.
7. Begin Packing as Early as Possible
Even if you think you don’t own much, packing always takes longer than expected. Start as early as possible, even if it’s just boxing up off-season clothes or books. This way, you’re not scrambling at the last minute.
Early packing also allows you to organize thoughtfully. Instead of throwing items randomly into boxes, you can pack strategically, grouping by category or room, which makes unpacking far easier.
Pro Tip: Set aside one box labeled “Essentials.” Include items like toiletries, chargers, snacks, and a few sets of clothes. Keep this with you during the move for immediate access.
8. Inspect Every Box Before Using
Not every box is strong enough for moving, especially if you’re using second-hand ones. Even brand-new boxes can sometimes have weak seams. Inspecting each box before use ensures you’re not risking the safety of your belongings.
Check for three things:
- Dryness: Any sign of moisture means the box has been compromised. Wet cardboard loses its strength quickly.
- Cleanliness: Avoid boxes with stains, dirt, or signs of pests. A cockroach nest inside a used box is the last thing you want to bring into your new home.
- Sturdiness: Press lightly on the sides. If it bends easily, it won’t survive stacking.
Pro Tip: If in doubt, double up. Place a weaker box inside a stronger one to add reinforcement.
9. Reinforce the Bottom of Each Box
The bottom of a moving box is its weakest point, and it carries the full weight of the contents. Simply folding the flaps together isn’t enough, tape reinforcement is essential.
Use at least two layers of heavy-duty packing tape. For extra security, use the “H-Tape Method,” where you apply tape across the seam and then across both edges, forming an “H.” This prevents the flaps from opening under pressure.
Mistake to avoid: Using cheap masking tape or duct tape. These don’t adhere well to cardboard and may peel off during transport. Stick to strong packing tape designed for moving.
10. Add Padding at the Base
Before adding items, create a cushion at the bottom of the box. This acts like shock absorbers for fragile belongings.
Options include:
- Crumpled packing paper.
- Bubble wrap.
- Towels or blankets (double duty: padding + moving your linens).
This extra step is especially important for boxes containing glassware, electronics, or ceramics. Without a padded base, even a small bump during transport could cause damage.
Pro Tip: If you’re reusing old towels or blankets as padding, wash them first. Dirt and dust may scratch delicate surfaces like glass or polished wood.
11. Choose the Best Packing Approach
Different items require different packing techniques. Using the wrong approach increases the chance of damage.
- Layered Packing: Heavy items on the bottom, lighter items stacked above. Best for mixed boxes.
- Vertical Packing: Plates and glassware packed on edge rather than flat. This reduces surface pressure and breakage.
- Bundle Packing: Wrap small items together into groups (like silverware) to keep them secure and prevent them from shifting.
Pro Tip: Avoid mixing fragile items with heavy ones. If a heavy tool shifts onto a wine glass, you’ll end up with broken shards.
12. Always Place Heavy Items First
This is a golden rule in moving. Heavy items like books, small appliances, or cast-iron pans should always go at the bottom of the box. Lighter belongings, like clothing or cushions, should go on top.
Why? Because it creates stability. If light items are at the bottom, they’ll be crushed under the weight of heavier ones. This not only damages your belongings but also makes the box lopsided and difficult to carry.
Mistake to avoid: Packing one box full of nothing but heavy items. Even if the box can hold it, your back won’t thank you. Distribute weight across multiple boxes.
13. Fill Boxes to the Top
A half-filled box is a weak box. Empty space means items can shift around, causing damage. It also makes boxes collapse when stacked in a moving truck.
Fill all the way to the top with a balance of items and padding. If the box isn’t full, top it off with soft items like towels, clothing, or bubble wrap.
Pro Tip: A properly packed box should feel firm and solid when closed. If you press down and the top caves in, add more filler.
14. Don’t Overpack Boxes
Just as underpacking is a problem, overpacking is just as bad. A box that’s too heavy can burst open or injure someone lifting it. Movers generally recommend that each box weigh no more than 50 lbs.
Test each box before sealing it: lift it slightly to see if it feels manageable. If it’s too heavy, redistribute items into another box. Remember, four medium-weight boxes are always better than one back-breaking box.
Pro Tip: Use a bathroom scale to check box weights. This keeps everything within safe lifting limits.
15. Arrange Items Logically
Packing isn’t just about fitting things inside, it’s about arranging them logically. Place items that belong together in the same box. For example, pack kitchen utensils with cookware, not with office supplies.
Logical packing makes unpacking faster. Instead of searching through random boxes, you’ll know exactly where things are. It also ensures boxes are stacked evenly, since items of similar sizes fit better together.
Mistake to avoid: Random “junk drawer” boxes filled with odds and ends from multiple rooms. They take longer to unpack and often contain damaged items.
16. Fill Empty Spaces Inside
Empty gaps inside a box can cause items to shift and break. Use filler materials to stabilize everything.
Good fillers include:
- Crumpled packing paper.
- Bubble wrap.
- Packing peanuts.
- Soft clothing or linens.
Pro Tip: For fragile items, use soft fillers like socks or T-shirts. They provide cushion and help you save on packing supplies.
17. Do the Shake Test
Before sealing, gently shake the box. If you hear items moving around, it means there’s still too much empty space. Reopen and add padding until everything is snug.
This quick test only takes a few seconds, but it can save you from discovering broken items later. A box that passes the shake test is safe to move and stack.
Mistake to avoid: Ignoring rattles or movement. Even small shifts inside a box can turn into serious damage during a long move.
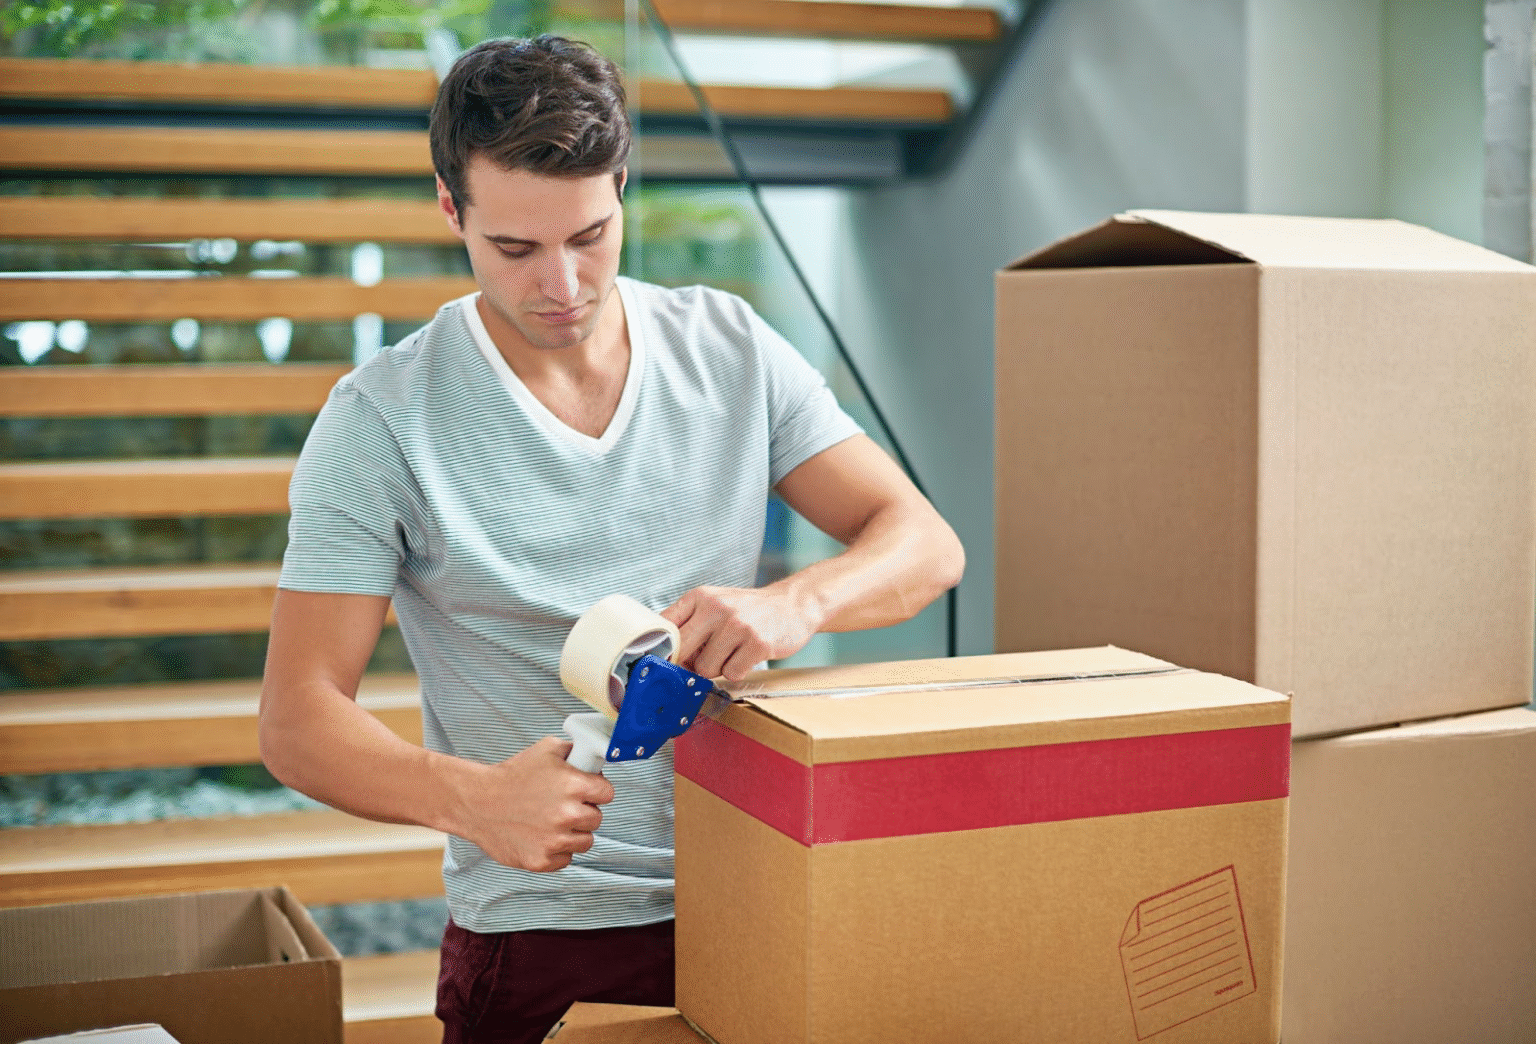
18. Seal Boxes Correctly
Sealing is the last line of defense against damage. Use heavy-duty packing tape and apply at least two strips across the top seam. Reinforce the sides if necessary.
Never rely on just folding the flaps together, it will not hold. Also, avoid using Scotch tape or masking tape, as they don’t adhere strongly enough.
Pro Tip: Seal boxes with the same “H-Taping Method” you used on the bottom. This provides maximum protection.
19. Label Every Box Clearly
Labeling makes your move 10x easier. Write the room name (Kitchen, Bedroom, Bathroom) and a short description of contents (“Plates,” “Books,” “Clothes”).
For fragile boxes, always add “Fragile” and “This Side Up.” This helps movers handle them carefully.
Pro Tip: Use color-coded labels or tape for different rooms. For example, red = kitchen, blue = bedroom. This way, movers know exactly where to place each box.
20. Consider Hiring Professional Packers
Packing is time-consuming, stressful, and physically demanding. If you don’t have the time, patience, or confidence to do it yourself, consider hiring professionals.
Companies like AFA Movers offer full-service packing with sturdy boxes, professional-grade materials, and experienced staff. They know how to protect fragile items, balance box weight, and load everything efficiently.
While it may cost more upfront, hiring pros saves time and reduces the risk of damaged belongings. Plus, many companies include insurance, meaning your items are covered in case of accidents.
Pro Tip: Even if you don’t hire professionals for everything, you can pay them just to pack fragile or valuable items while handling the rest yourself.
Special Packing Tips for Delicate Items
Taking these extra precautions saves you from costly damage and ensures your valuables arrive safely at your new home.
Glassware: Wrap each piece individually, use dividers inside the box, and place glasses vertically for extra protection.
Artwork & Mirrors: Use specialty boxes or add cardboard corner protectors. Wrap them in bubble wrap and label them as fragile.
Clothing: Use wardrobe boxes for hanging clothes to keep them wrinkle-free and ready to wear.
Taking these extra precautions saves you from costly damage and ensures your valuables arrive safely at your new home.
Why Hire Professional Movers Like AFA Movers?
From providing sturdy boxes and premium packing materials to safe loading, transportation, and unloading, their team makes your move seamless. With insured protection and experienced staff, you can enjoy a stress-free moving experience. Packing a box efficiently requires the right materials and techniques. By following these steps, you can ensure your items arrive safely at your new location. For stress-free moving, trust AFA Movers for expert packing and relocation services.